Photo Transfer
Are you looking for a gift idea? Look no further; you have stumbled across a gift idea that will make somebody cry. This amazing gift idea is a photo transfer. This project is from pinterest, where you take a photo and Mod Podge it on to a piece of wood. The cool thing about this project is you can make it as personal as you want. The down side to the project is that it is a little pricey. When I did the project for Mother’s Day, it cost around $30, but it was well worth it because my mother loved them. Let’s get into how to do this:
Step 1: Decide what photos and what size photos you want to use. Make sure you have it printed on regular printer paper. Laser jet ink comes out better, but normal ink works just a well. Make it personal; you get a better reaction that way.
Step 2: Find wood. You need a light-colored wood so you can stain it later, it needs to speak to you and say, “I am the wood for your photo! Pick me!”
Step 3: Find your stain for the wood. Personally, I like American chestnut, but pick the color you like the best.
Step 4: Cut the wood to a shape that fits the picture best.
Step 5: Size the picture to the wood. Make some cuts until it is perfect.
Step 6: Now that everything is sized and matching, put Mod Podge on the ink side of the paper, and place it face down on the wood. Then, let it sit for 24+ hours.
Step 7: Once you have let the wood sit, take a damp sponge and begin to rub away the back of the paper. Make sure you don’t rub away the ink.
Step 8: Now that you have the ink exposed, you need to stain the wood and spray it with shellac. This will seal the ink and give it a glossy look.
Step 9: You have finished this long project, so your last step is give yourself a pat on the back. Also let the wood dry.
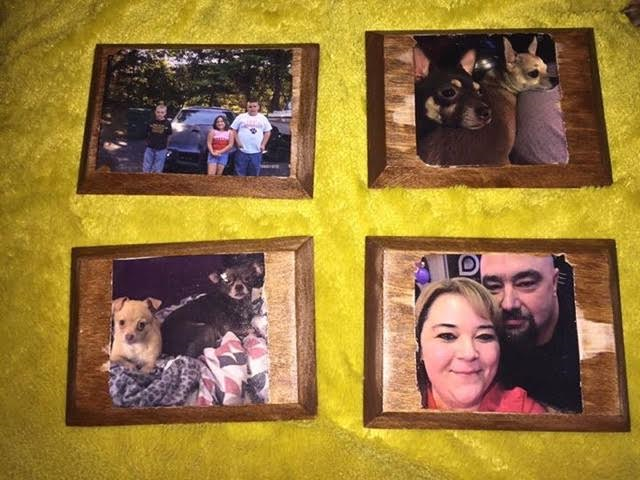
Now that you have your beautiful wood photo transfer that the person receiving it will love forever. Enjoy the project making magic!